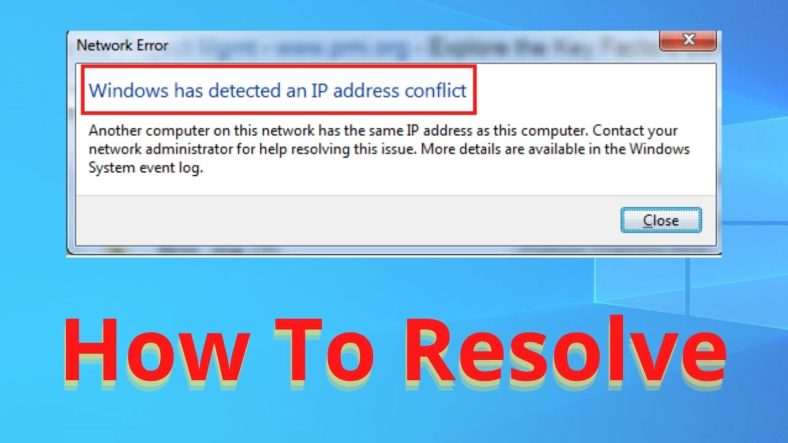
Are you facing Windows has detected an IP address conflict error while connecting through a network? If yes, you come here on the right webpage. Today in this guide, we will discuss a few ways to fix Windows has detected an IP address conflict.
When you connect your device to a network, a unique number is assigned, and that’s called the IP address. This IP address helps in identifying your computer while connecting to the web. Each device has a different IP address for easy communication and recognition.
The different IP address makes it quick for the networks to differentiate them. Also, when you connect one laptop, one computer, and one smartphone with the same wireless networks, their IP address are different.
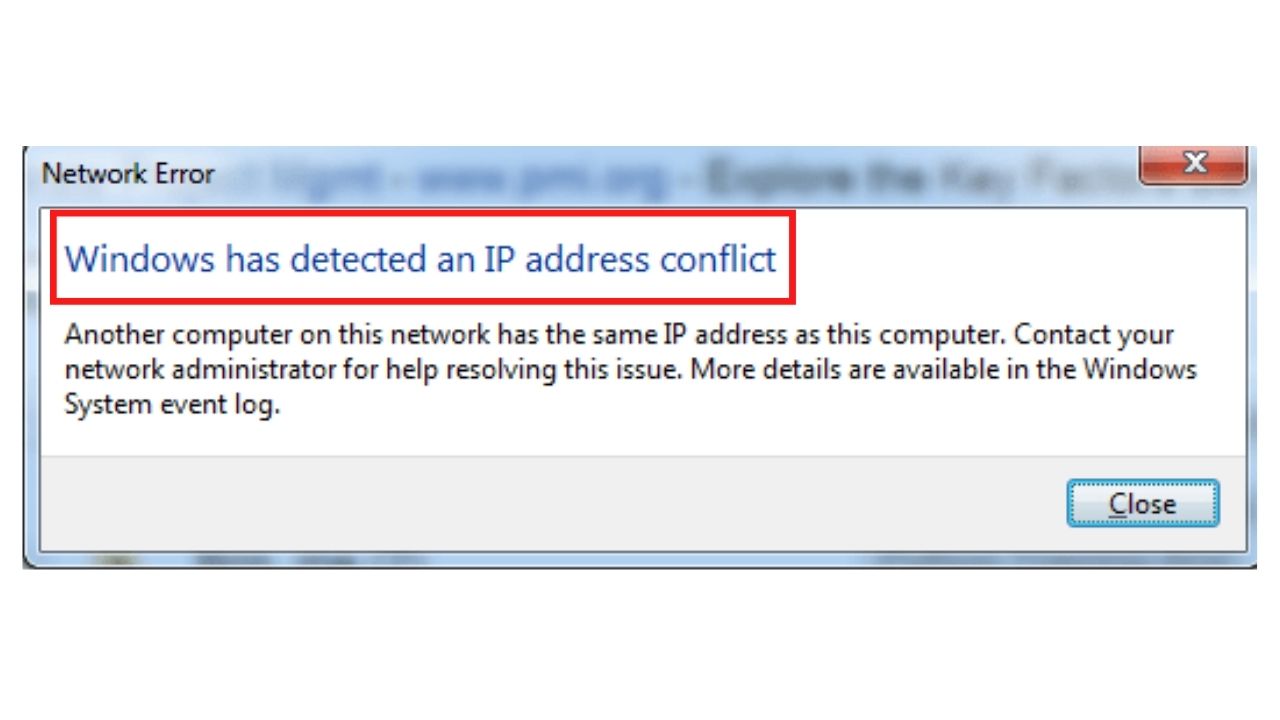
If you are facing Windows has detected an IP address conflict error, it simply means that your IP address is already in use. Of course, no two devices have the same IP address, but there are always exceptions. Sometimes two or more devices have ended up with the same IP address due to router malfunctions, PC settings, or ISP issues.
If a problem occurs, Windows throw a pop-up message Windows has detected an IP address conflict. Well, it’s a critical error, and you cannot connect or communicate with the networks. But the good news is that there are many ways to fix this error. Before proceeding towards the solutions, let’s look at the causes for IP address conflict.
- Static IP Allocation
- Server Issues
- BYOD policies
- Faulty Network Configurations
- Router and Modem Exhaustion
Now let’s look at the methods and a solution to fix Windows has detected an IP address conflict Error.
Solutions To Resolve Windows Has Detected An IP Address Conflict
Restart Your Router Or Modem
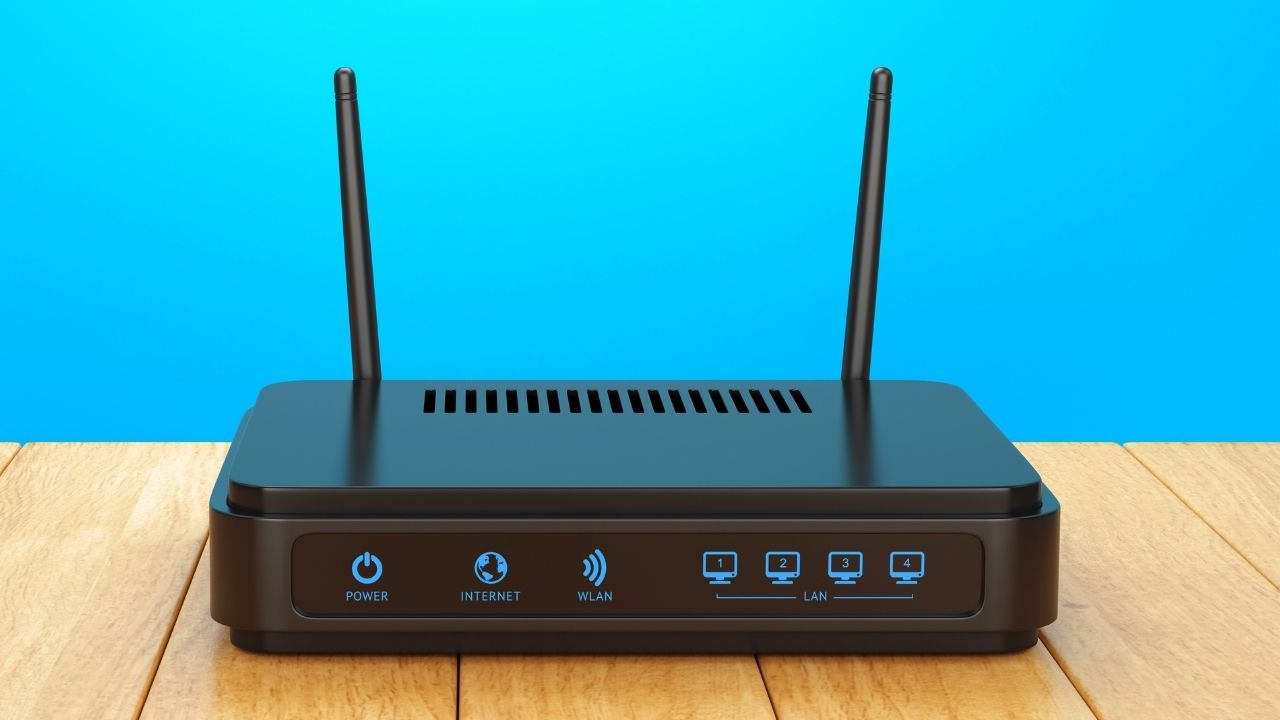
As you know, restarting the device is the mother’s solution to all major or minor conflicts. Sometimes a simple restart can resolve Windows has detected an IP address conflict error. It solves if the malfunction in the router can cause IP address conflict. Let’s take a look at how to restart your router.
Step 1: Search for the “Power Button” on your router to turn off your device. This will disconnect you from all networks temporarily.
Step 2: Now, wait for a few minutes until your router is properly shut down.
Step 3: Now, “Turn On” your router and try to reconnect the devices, and check whether the problem occurs.
Disconnect Or Reconnect Your Network Adapter
A network adapter is a hardware gadget that connects your computer to the network. Whether it’s a USB-enabled network adapter or a wireless one, disconnecting or reconnecting the network adapter may fix this issue. Here is how to do it.
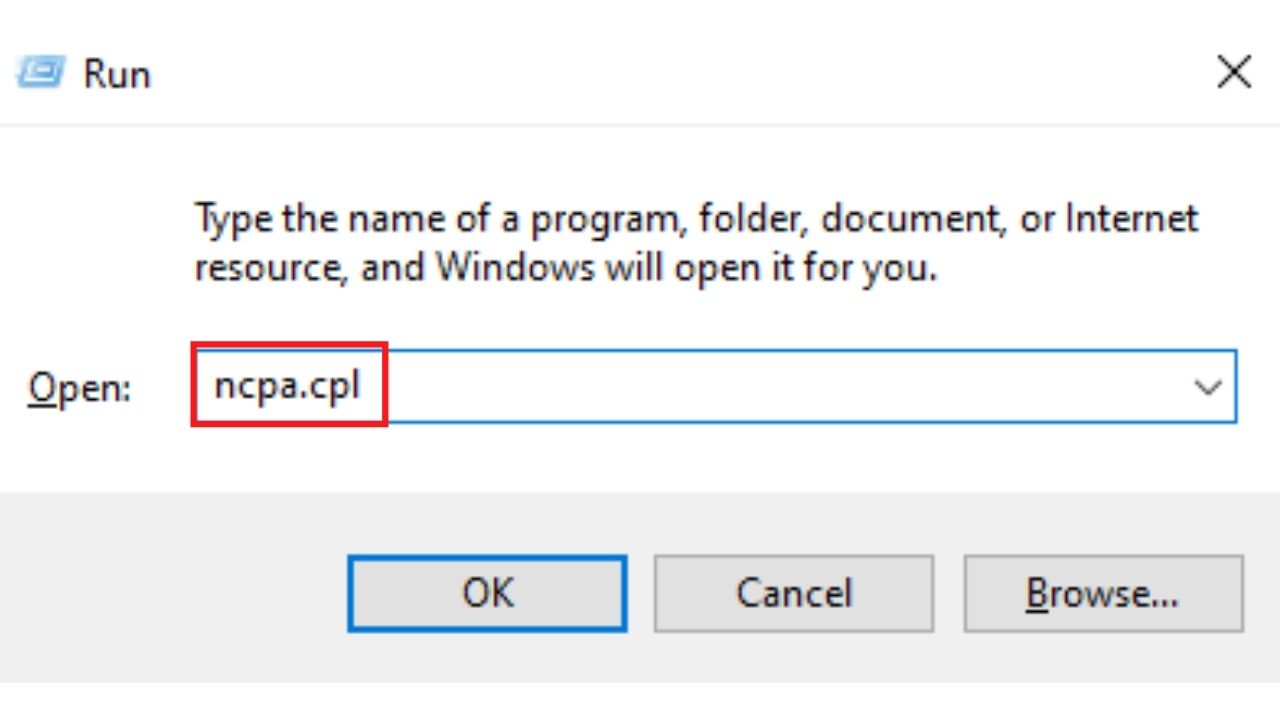
Step 1: Go ahead and press “Windows key + R”. It opens the” Run Utility” function.
Step 2: Now type “ncpa. cpl” to check and open the network connections. Now go to the control panel and search for the “Network Connections” window.
Step 3: Now, search for the adapter that connects to the Wi-Fi or other network.
Step 4: Now, “Right-Click” on the adapter to turn on the “Disable” option.
Step 5: Wait for a few minutes and again right-click on the adapter to the “Enable’ option.
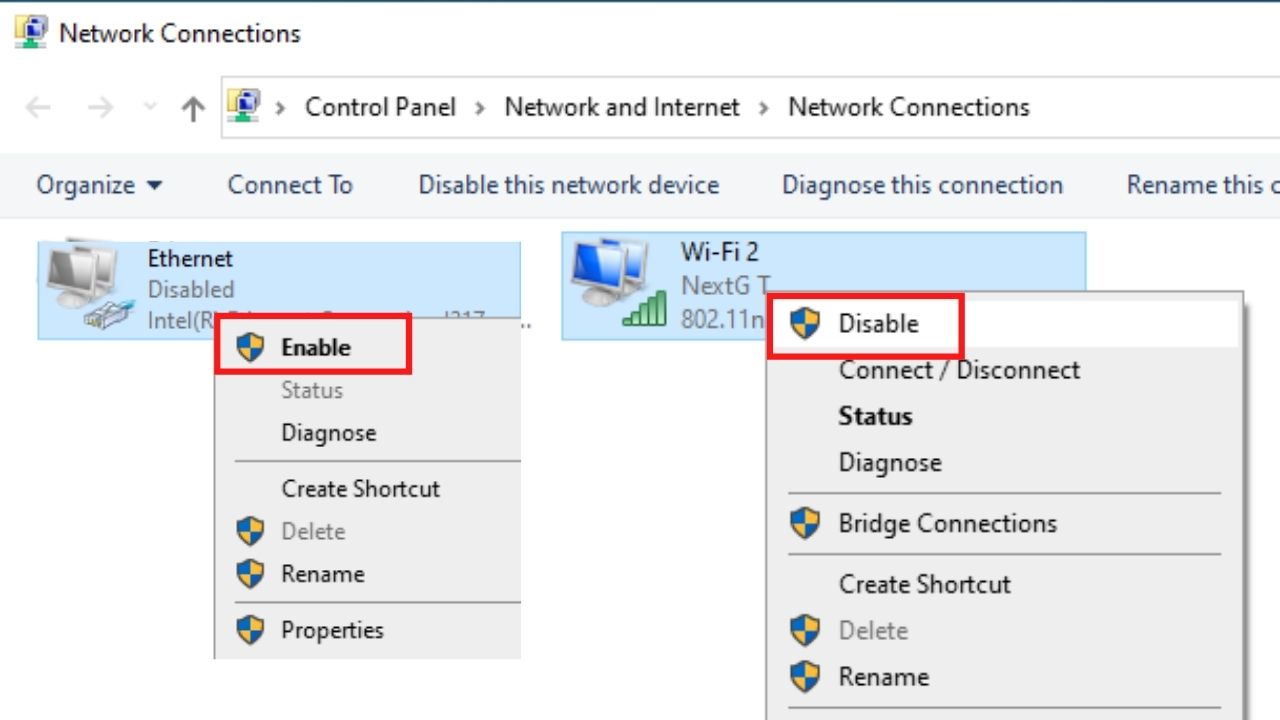
Step 6: Once done, close the window and check if the problem persists.
Reset The IP Configuration
If the above solution fails, try to renew your IP address as it is the most trustworthy method to fix Windows has detected an IP address conflict error. In this method, we will try to release your current IP address and assign a new and fresh IP address. Here are the steps to follow.
Step 1: Open the “Command Prompt” via the run utility function if your account has administrative access. If not, press “Windows key + X” and then tap “A” to open a command prompt.
Step 2: In the command prompt window, type these 3 commands and press enter after every command.
- netsh int IP reset c:\resetlog.txt
- ipconfig/ release
- ipconfig/ renew
Step 3: Once done, reboot your computer and check that the error is fixed.
Disable The Static IP Allocation
Most people use static IP addresses because it’s easy for them to quickly identify or find the specific device on the networks. But sometimes, these static IP addresses can cause Windows has detected an IP address conflict error.
This is because an available group of IP addresses reduces, and it’s difficult to switch between them quickly. Here are the steps to disable the static IP allocation.
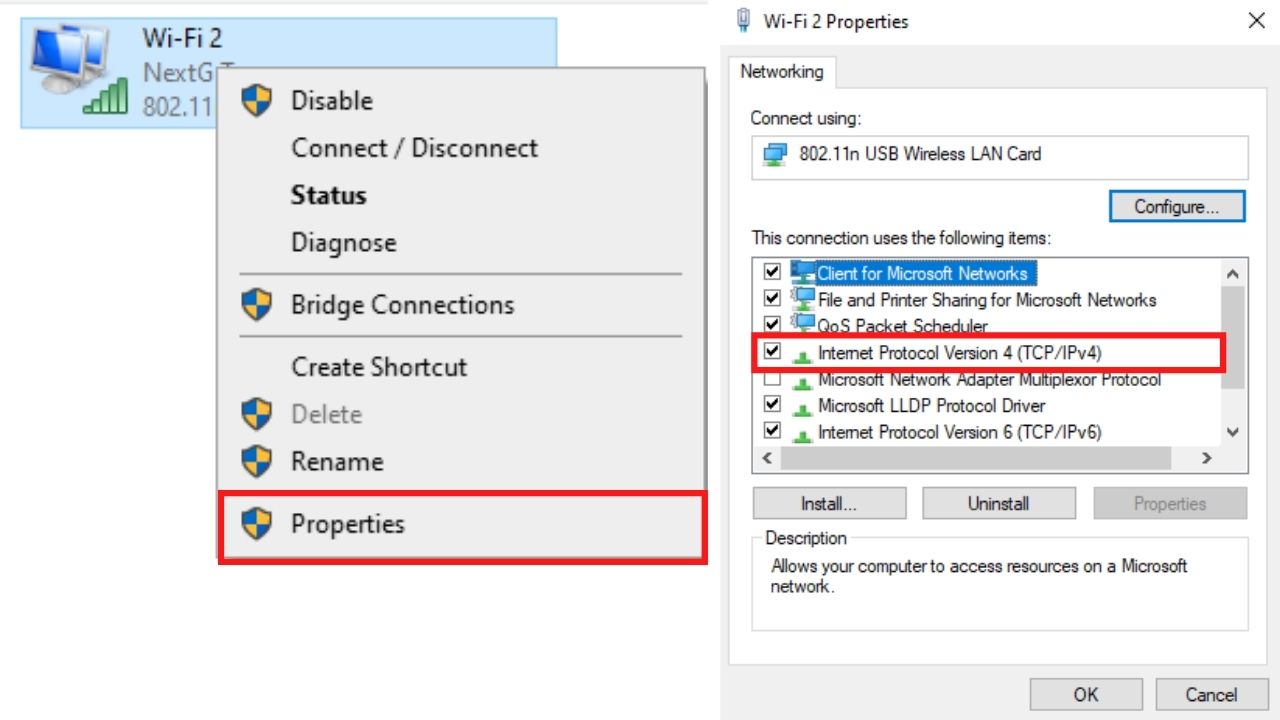
Step 1: Open the run utility function via “Windows key + R”. Now type “ncpa.cpl” to see the network connections window.
Step 2: Now, go to the control panel and select your network adapter. “Right-Click” on the screen and select “Properties”. It shows all the properties of your Wi-Fi networks.
Step 3: Check the properties until you find the “TCP/IPv4” option. Once done, double-click on the opportunity to open the dialog box.
Step 4: In the general tab, search for “Obtain an IP address automatically” and tap on it.
Step 5: Once done, again select the “Obtain DNS Server address automatically” option.
Step 6: Now tap on “OK” and exit the control panel.
Step 7: After that, restart your computer and check if it works.
Flush The Cache
The cache is the junk files saved in your computer and causes issues like Windows has detected an IP address conflict error. Sometimes it’s essential to flush the cache files so your computer can start with new DNS information. DNS or Domain Name System sets the websites with the IP addresses, so it is easy to remember.
But of course, it catches a lot because these files are not regularly checked and create errors like Windows has detected an IP address conflict. So flushing the cache files makes your task easier and allows the DNS to do its job. Here are the quick steps to flush the cache.
Step 1: Go ahead and open a “Command Prompt”.
Step 2: Now, type “ipconfig/flushdns” in the command prompt.
Step 3: Wait until the flush DNS process is completed.
Step 4: Restart your PC and check if the problem still persists.
Disable IPv6
IPv6 is the fresh and new technology that causes Windows has detected an IP address conflict error. Here are the steps to disable IPv6 technology.
Step 1: Open the run utility function to navigate the “Network Connection Window” and your network adapter.
Step 2: “Right-click” on the adapter and search for “Properties”.
Step 3: Now, in the properties list, “Remove the Checkmark” from “Internet Protocol Version 6 (TCP/IPv6)” to empty the box.
Step 4: It will automatically disable the IPv6 on your device.
Step 5: Now restart your computer and check if the problem resolved.
Update Your Drivers
Updating your drivers regularly is the ideal solution to fix Windows has detected an IP address conflict error. It’s essential to update the drivers on time because outdated network card drivers can cause trouble. Here are the steps to update the windows driver.
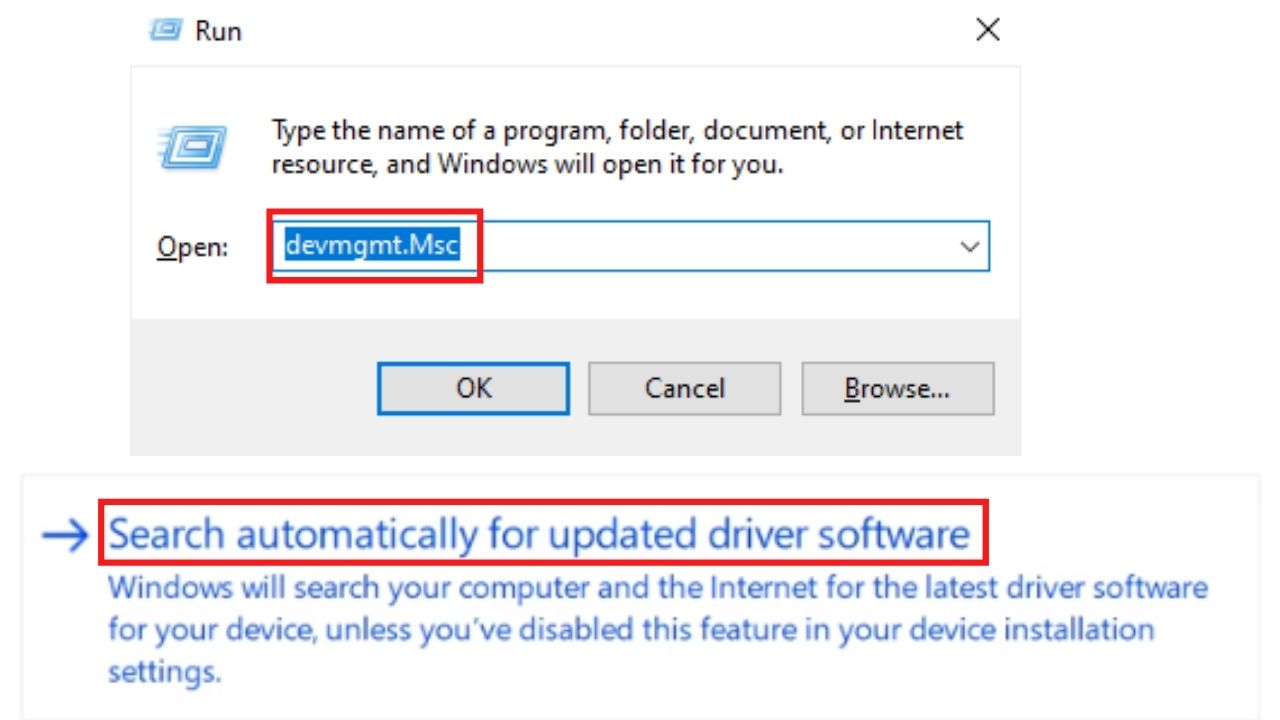
Step 1: Open the run utility application, type “devmgmt.Msc” and tap on “OK” to open the device manager.
Step 2: Now, click on the “Arrow Icon” to expand the network adapters.
Step 3: Right-click on the driver and check is there any update required.
Step 4: If yes, select “Update” driver and tap on “Search Automatically for Updated Driver Software”.
Step 5: If Windows finds the driver, it will automatically install and update your computer.
Step 6: Once done, restart your PC and check whether the issue is resolved.
Conclusion
So, here the guide ends with fixing Windows that has detected an IP address conflict error. We hope the above solution will definitely work and resolve the IP address conflict.
That’s all for now, and thanks for reading this article on this webpage. Let us know in the comment box that which solution works for you. Do follow us for the latest articles and stay in touch.
